Hungry Polar Bear Cake
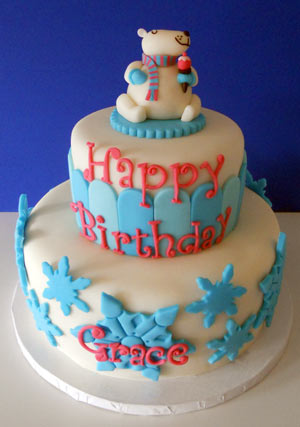
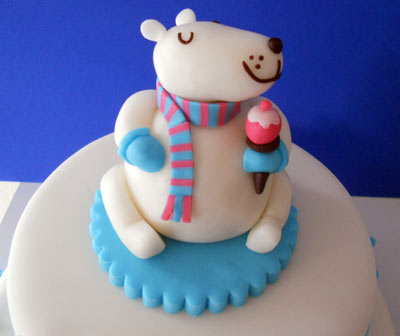
A polar bear eating ice cream? What could be more fun and delicious than a snowflake covered cake with a happy polar bear on top? Just the thought of a polar bear eating ice cream makes me smile, and children will be pleased to see that polar bears like ice cream just as much as they do!
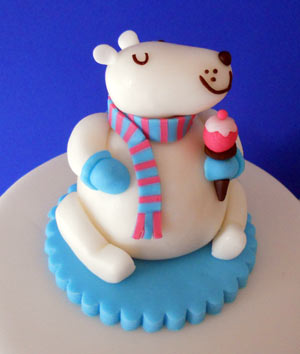
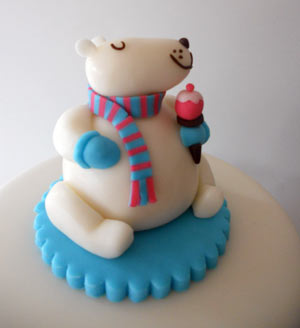
Cozy in his striped scarf, this polar bear couldn’t be happier while enjoying his ice cream.
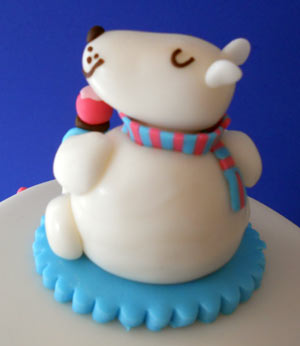
Aside from the polar bear itself, most of the decorations for this cake are made using cutters of various shapes. This speeds up the decorating process. The polar bear is sitting on a scalloped fondant circle made using our scalloped cutter set.
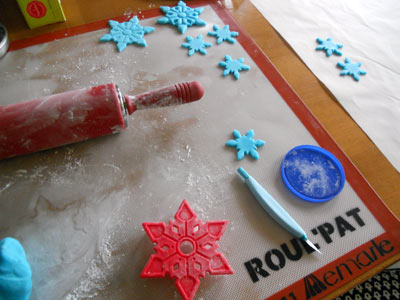
Using different cookie cutters to cut out fondant decorations is a simple and easy decorating idea.
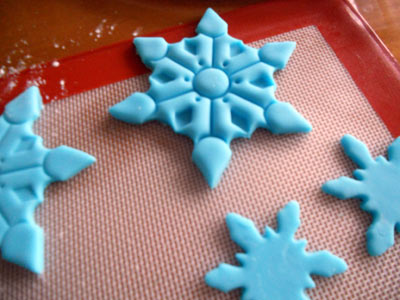
Cutters that imprint patterns or textures will give more dimension and depth to the design. A non-stick mat is a wonderful work surface for rolling out fondant because you can leave the decorations on it while you work and they won’t stick.
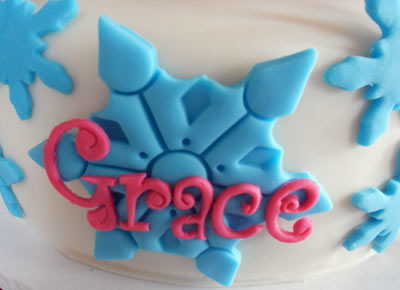
Attach the fondant snowflakes to the fondant covered cake by applying a bit of water using a small paint brush.
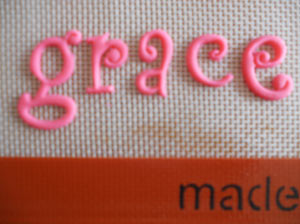
These fondant letters are made using the funky lower case letters tappit set.
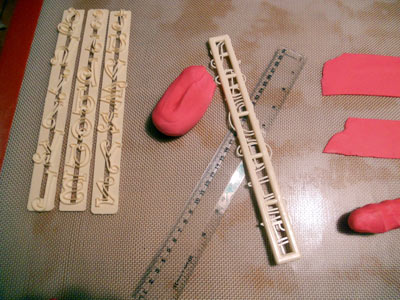
For this cake I wanted the first letter of each word to be capitalized, so I used the funky letters and numbers tappit set and the funky lower case tappit set.
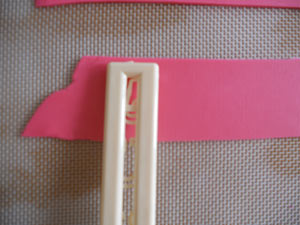
Roll out long strips of fondant to cut out the letters using the tappit set. The tappit cutters are designed to cut each individual letter separately.
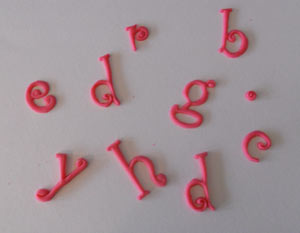
I use the pink (1/16″) dough bands on the 9″ rolling pin to get the fondant to the correct thickness.
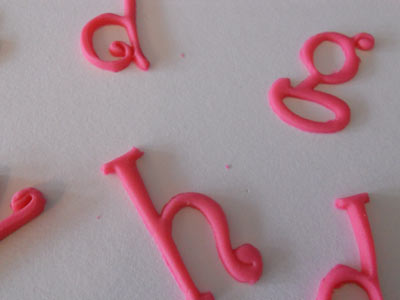
I love the tappit sets because they produce stylish, crisp, clean, sharp looking letters. Tappit letters produce a fresh unique look that is different from hand piping plus there is the added benefit of being able to move letters around. If you make a spelling mistake with the tappit set, just remove the letter from the cake. Mistakes made with icing are much harder to fix.
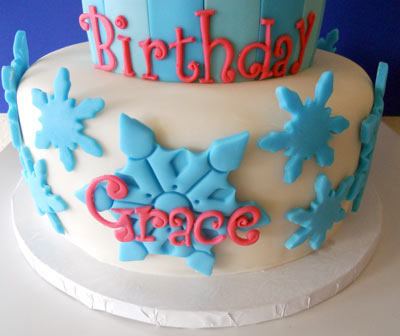
Apply the tappit letters using a tiny bit of water applied with a paint brush. If you allow the tappit letters to dry, they will be stiff enough to attach to your cake with royal icing at the base of each letter so that they are free-standing.
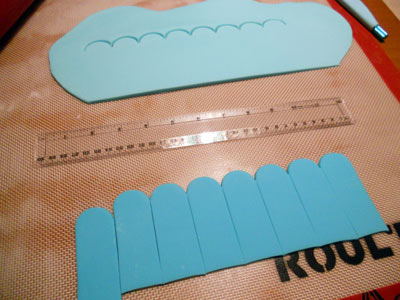
The scalloped edge that surrounds the top tier of the cake is created with our rounded border cutter set. Cutter sets like these have endless uses and are great to have on hand for quick design ideas.
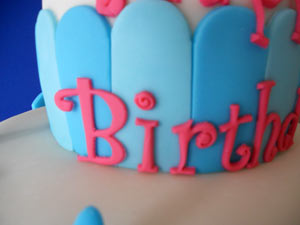
Scalloped stripes in alternating shades of blue add extra detail to this cake.
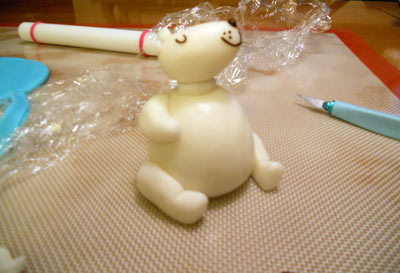
The part of this cake that is most daunting is probably sculpting the polar bear. I was inspired to make this bear by a greeting card I saw on one of my favorite stationary sites, Hello Lucky. A sculpting tools set will help you out with sculpting figures. Don’t be afraid to try because it is just fondant and if you mess up you can always eat it and start over!
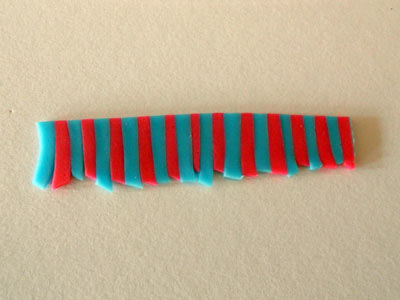
Making the scarf is a lot of fun, and the technique can be used for a variety of decorations. Begin by cutting small uniformly sized strips of fondant in two alternating colors. I use a ruler and x-acto knife to cut the strips to the same size.
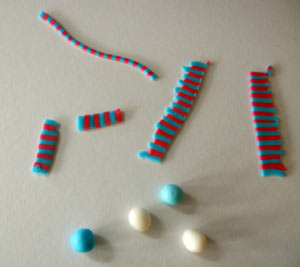
Next use the small rolling pin to roll over the strips of fondant. Roll over them with even pressure so that they meld together. Now you have the fabric for the scarf.
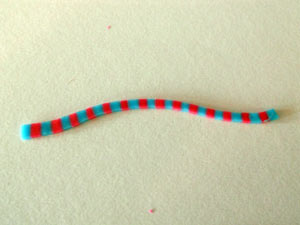
The strips that have been rolled together should be stuck to each other and form one piece of fondant from which you can cut out a scarf, bowtie, or any shapes you can think of.
