Dancing Goldfish Cake
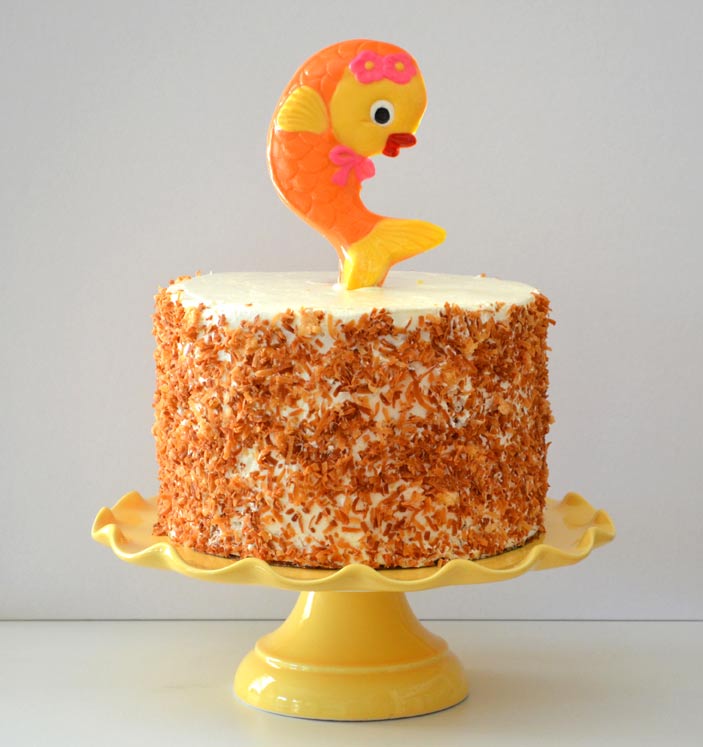
This is a fun little cake I made for my mom’s birthday. I was inspired by the goldfish chocolate mold, and couldn’t resist putting this little happy goldfish on top of a cake. I like using chocolate figures on cakes because I can make the figures way in advance and then just pop them on the cake at the last minute. For this particular cake, I knew I would be short on time and sleep because I had a two month old baby at home. Even though I was short on time, I wanted to make something special for my mom, so I chose this design.
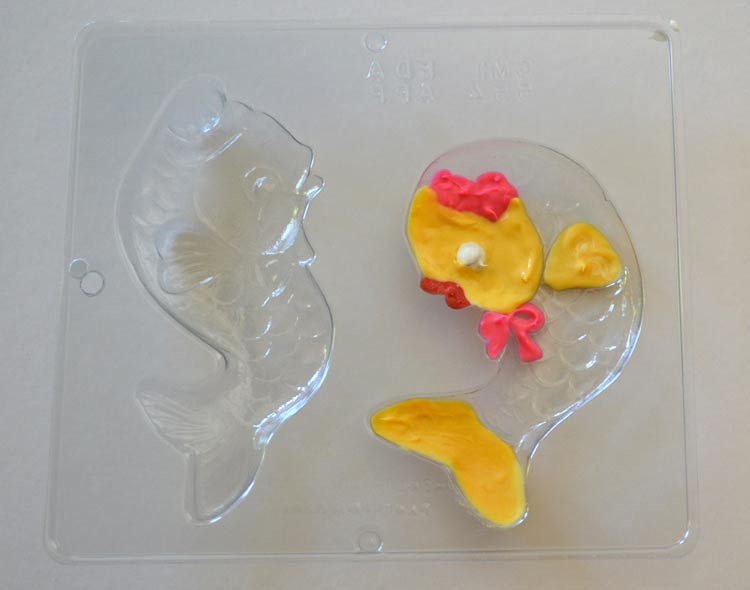
I have tried a lot of different methods for “painting” chocolate molds, and for fine details like these I prefer to use a candymelter palette and paint brush (one that is dedicated to food use only). Once I found the candymelter palette, I really got excited about chocolate because it allows you to keep up to ten colors warm at the same time in the small aluminum cups attached to the palette, and for painting details, there is nothing better. When you stop having to worry about keeping all of your chocolate melted, you find there is so much more you can do with your designs.
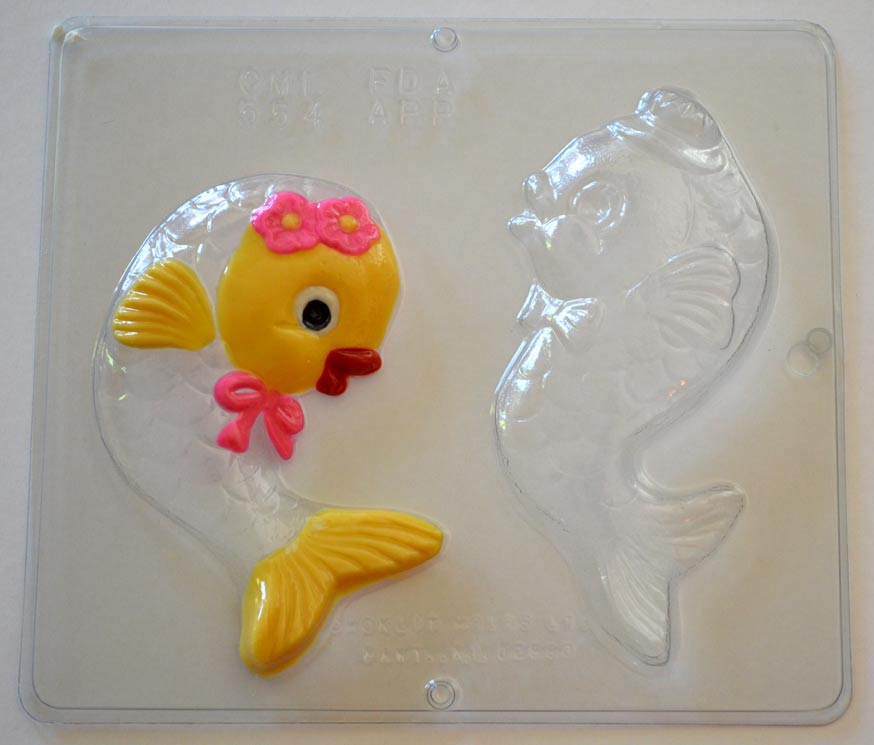
The basic strategy for painting chocolate molds is a layering technique where you paint all of the details first and then fill in the background color. You need to leave a little bit of time in between layers so that the colors don’t run. For example, I painted the black pupil of the eye first and had to let it set before applying the white part so that the two wouldn’t run. All of the colors that you see are melted candy coating (a.k.a candy melts, confectionery coating, summer coating, chocolate wafers). Candy melts are not actual chocolate. They have a higher melting point than chocolate, do not require tempering, and come in a variety of colors, so they are quite convenient.
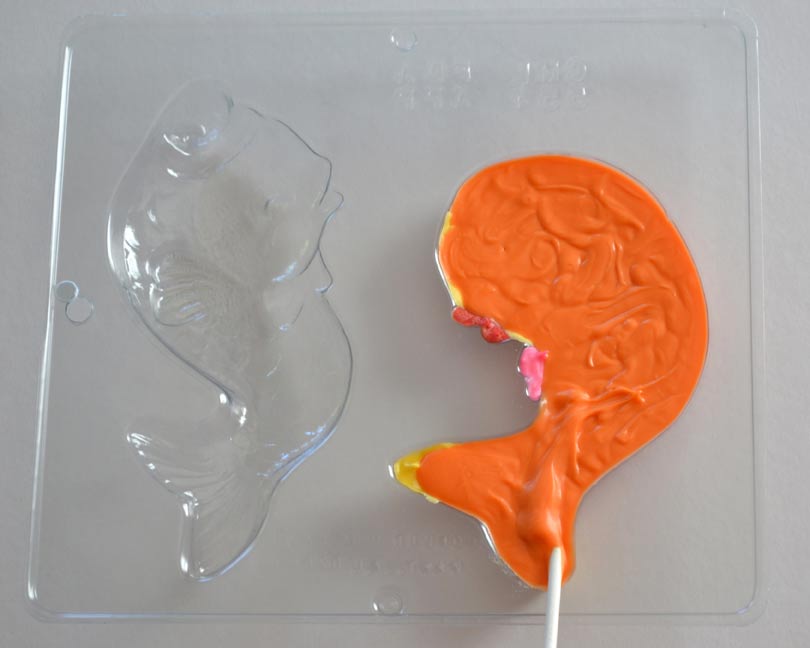
Once all of the details have been painted and are dry, you are ready to fill in the mold. For this, I use a chocolate squeeze bottle. I melt my background color, pour it into a chocolate squeeze bottle, and then fill the mold. Make sure to tap your mold so that all of the nooks and crannies are filled in with candy coating. Luckily, the molds are clear so you can just lift them up over your head to see if there are any gaps or bubbles. For this goldfish, I stuck a lollipop stick in at this point since I knew I would be putting it on a cake!
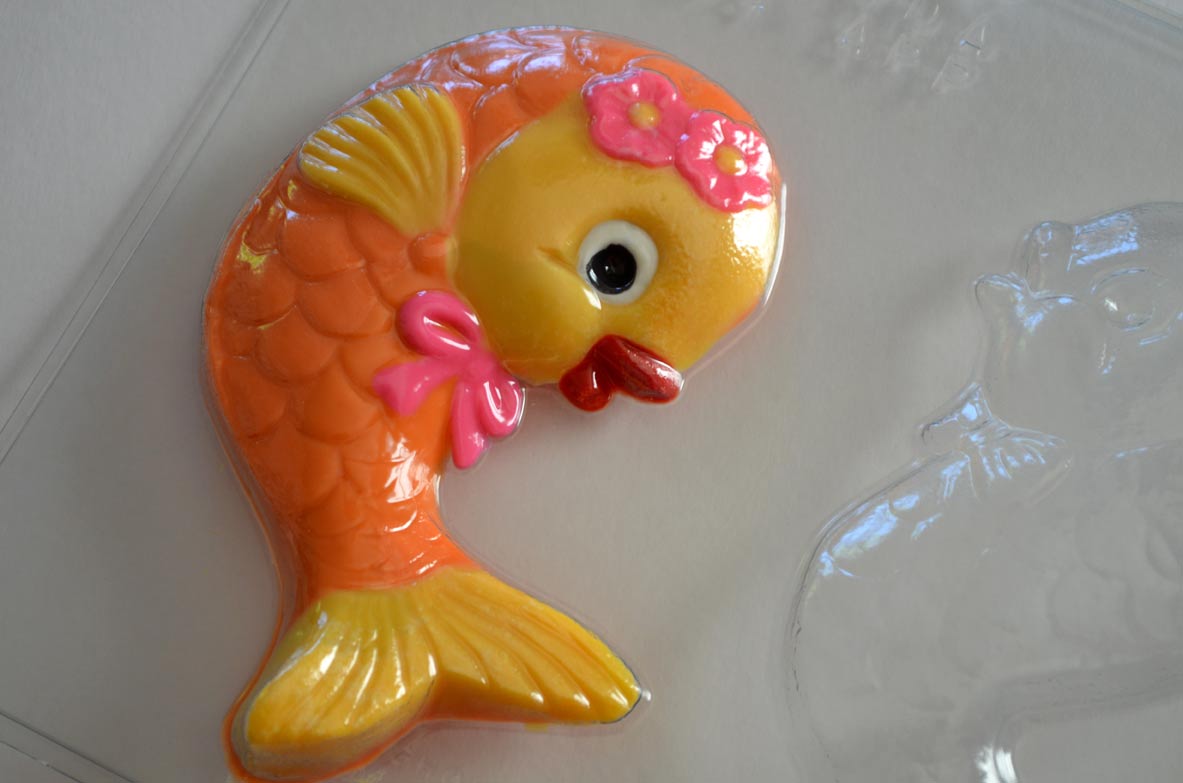
This goldfish just makes me smile! It is so cute and it reminds me a bit of Cleo, the goldfish from Pinocchio. The pretty pink flowers and lovely bow remind me of my mom. Once your chocolate is dry, you can flip the mold over and unmold your figure.
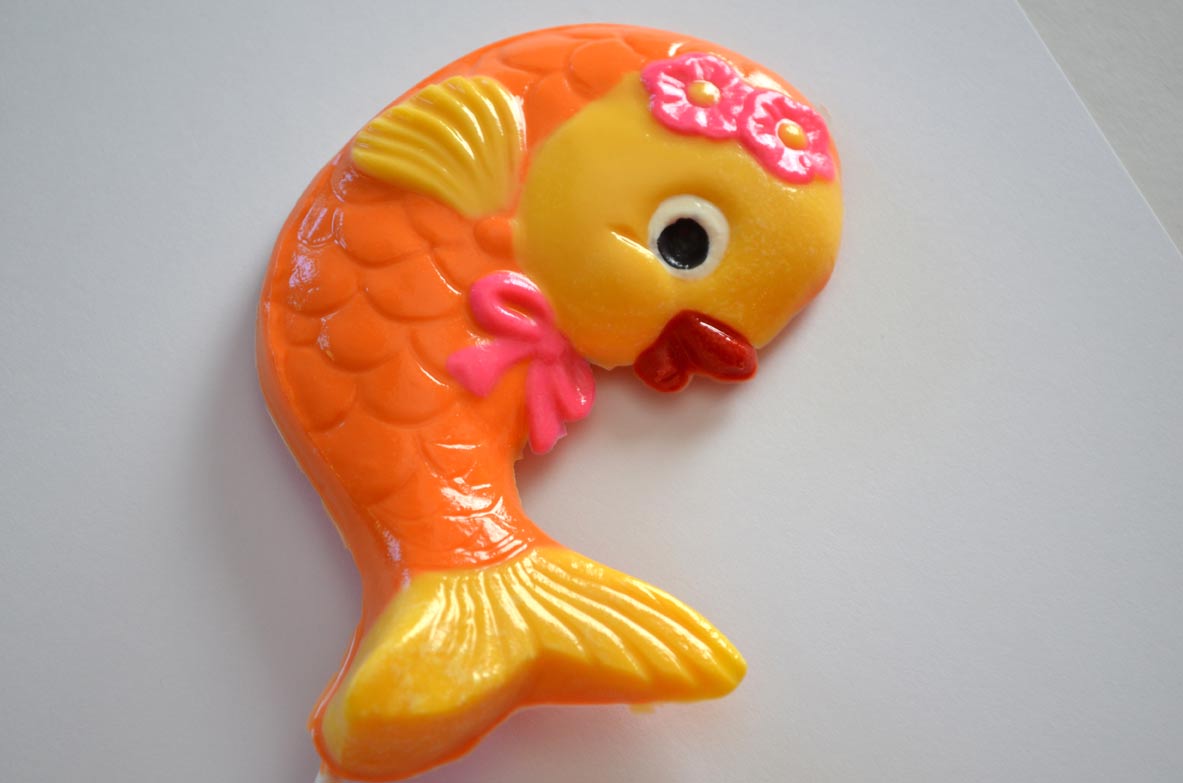
Once your goldfish is unmolded, you are left with a beautiful, shiny, chocolate goldfish! Looks like the perfect cake topper to me! This happy goldfish looks like it is dancing for joy. I was so excited about the goldfish, I almost forgot about the cake! For my mom’s cake I wanted the chocolate goldfish to be the focal point, so I needed something simple that would coordinate with the goldfish and not detract.
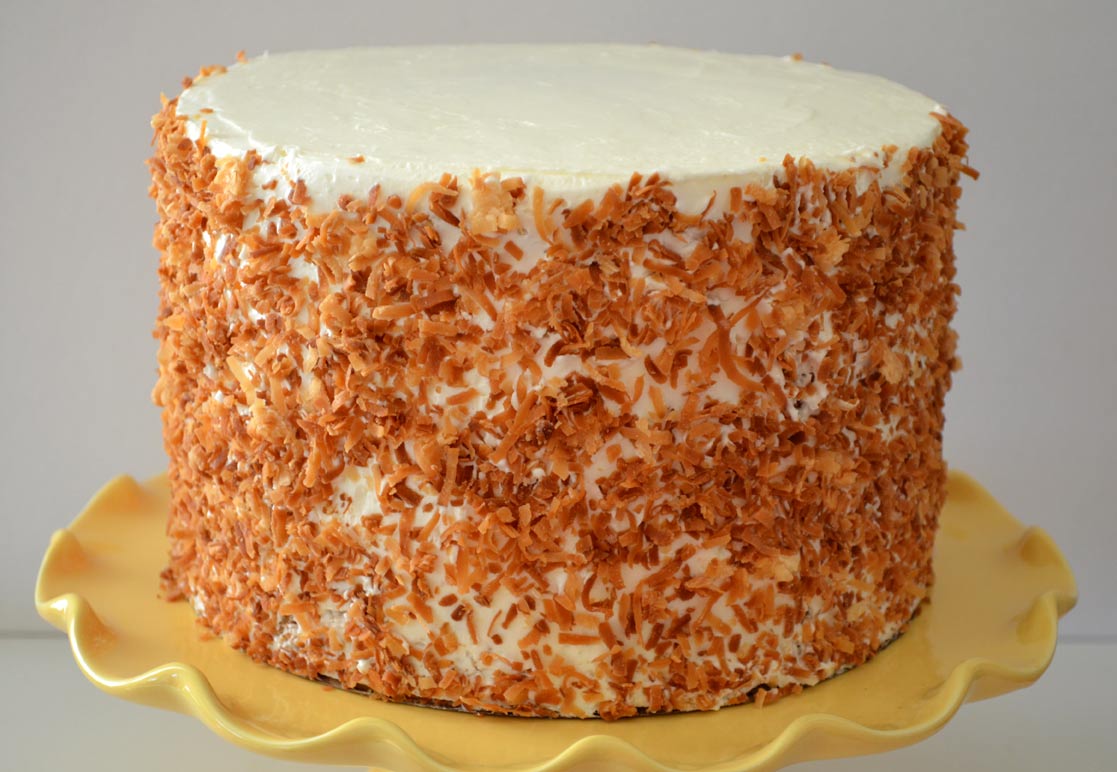
To keep things simple I frosted the cake in cream cheese frosting and decorated the sides with toasted coconut. I love how the toasted coconut is a thousand different shades of golden brown. I am partial to Baker’s Angel Flake Coconut, and use it whenever I can.
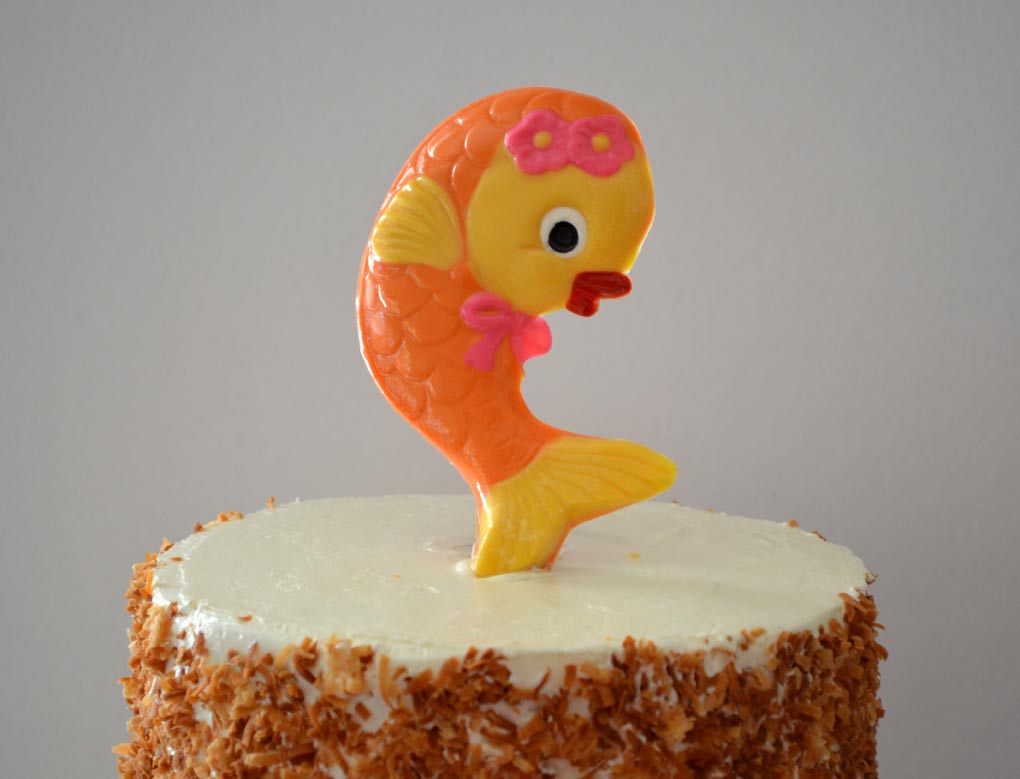
Whimsical, simple, and fun! That is how I describe this cake. Next time you need a cake in a hurry, think about using a chocolate cake topper. It adds a lot of interest and detail to the cake, and can be made well in advance so you don’t have to invest a lot of time decorating at the last minute! You may have noticed that there is a happy dancing boy goldfish as well! Hopefully someday soon, I will be able to make a happy pair of dancing goldfish!